Skip to content
If you’re looking to power your RV with clean, reliable energy, mounting solar panels on your RV roof is a smart move. But the question is—what’s the best way to do it?
You want a method that’s secure, waterproof, and won’t damage your roof. Plus, it should be easy enough to install and maintain. You’ll discover practical tips and proven techniques to mount your solar panels safely and efficiently. Whether you’re a DIY enthusiast or just starting out, you’ll learn how to choose the right mounting hardware, avoid drilling holes, and protect your roof from leaks.
Keep reading to find the perfect mounting solution that fits your RV and your adventure lifestyle.
You May Like

- Drill-free solar panel mounting. Designated for virtually any aluminum…
- 100% recyclable and UV resistant. Non-corrosive, long lasting, and high…
- Best suitable for any flat building surfaces of aluminum, wood, or GRP…
- Easier and more flexible installation with no potential roof leaks.

- NOW ON AMAZON – Drill-free (surface) solar panel mounting. Designated for…
- Self-tapping screws included to affix mount to solar panel.
- Perfect for RV’s, vans, truck campers, trailers, motorhomes, buses, boats…
- Non-corrosive, long lasting, 100% recyclable and made from high quality ABS…

- PG7 Waterproof cable gland used for all cable types 2mm² to 6mm² in Dia…
- Suitable for most round cables for Solar Panel,DC power, Aerial, satellite,…
- Can be fixed with Glue (not included) Sikaflex 221 Sikaflex 252, 291, dicor…
- The whole set is within 1 ABS white box, 2 cable glands ,2 rubber seals
- Practical Design & Easy to Install: End clamps and T-shaped middle clamps…
- Premium Material, Durable and Long-lasting: Anbte solar panel brackets are…
- Innovative Two-hole End Clamp: Anbte solar panel end clamp is divided into…
- Wide Applications: Suitable for most home, RV and marine solar panel…
- 【Easy Set up】When glued with silicone sealant (not included in…
- 【Efficient Solar Panel Function】This well constructed mount lifts your…
- 【Considerate Protection for Solar Panel】Non-corrosive, high quality ABS…
- 【Variety Use in Solar Panel Mounting 】Used universally with any…

Credit: siebleben.de
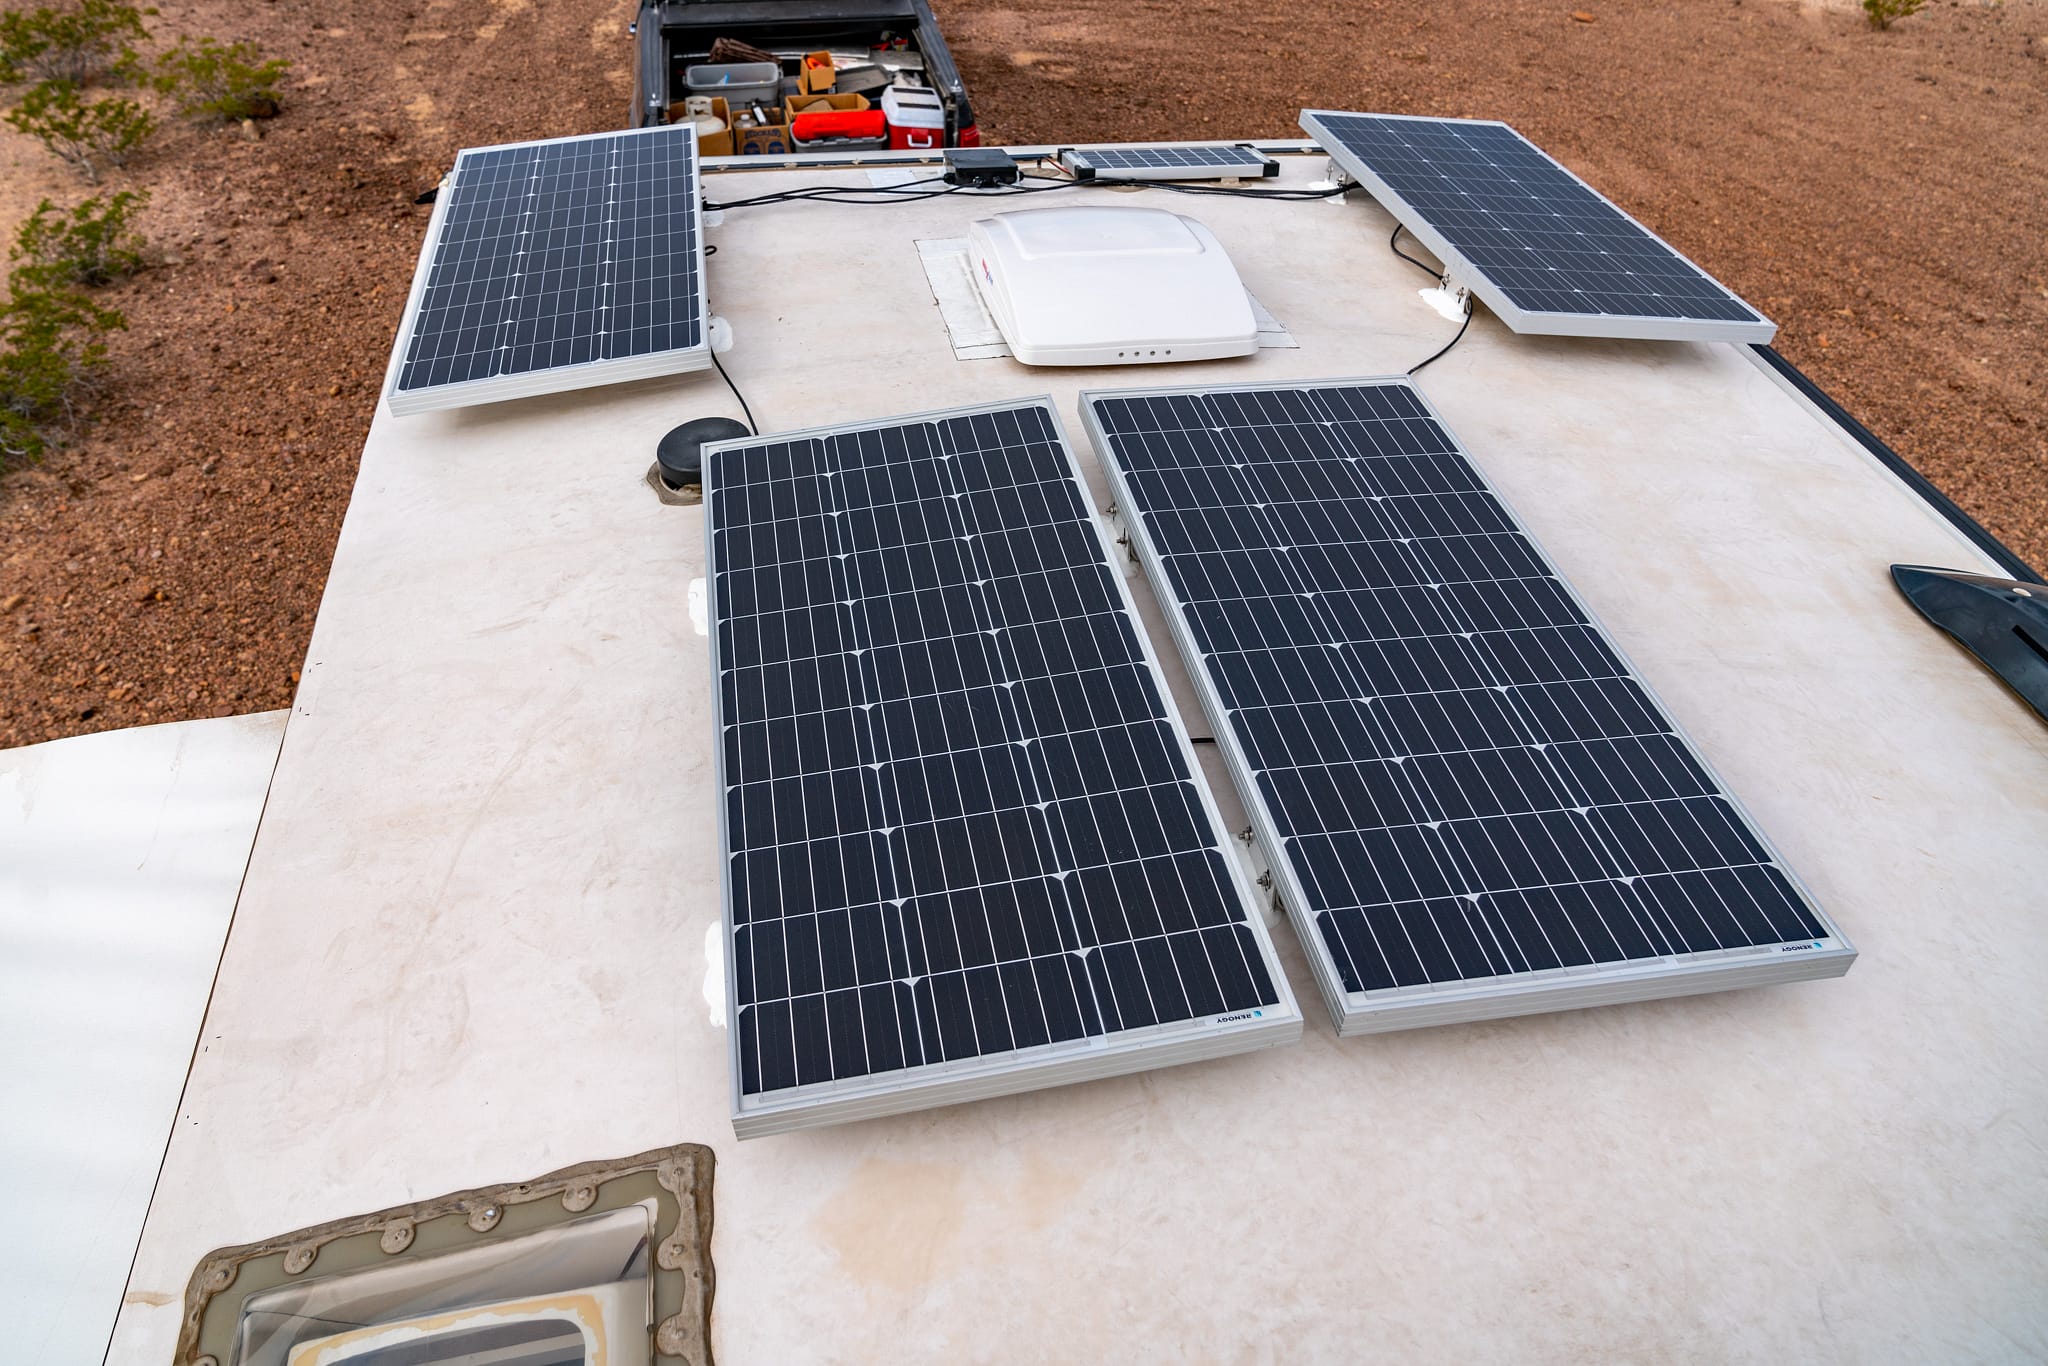
Planning Solar Panel Layout
Planning the layout of your solar panels on the RV roof is key for good power. The right placement helps capture the most sunlight. Careful planning also avoids damage and keeps the roof safe. Taking time to plan saves effort later.
Consider the roof’s shape, size, and any equipment on top. Each panel needs enough space and clear exposure to the sun. A well-thought layout ensures strong performance and easy maintenance.
Choosing Sunny Spots
Find the parts of the roof that get the most sun during the day. South-facing areas usually receive more sunlight. Avoid spots shaded by trees or nearby buildings. Keep panels away from vents and air conditioners that block light. Sunny spots increase energy production and keep batteries charged.
Avoiding Obstructions
Check for anything that can block sunlight or cause damage. Antennas, roof vents, and satellite dishes can shade panels. Position panels away from these obstacles. Also, avoid placing panels near edges where wind can lift them. Clear, open spaces protect panels and improve efficiency.
Measuring And Marking
Measure the roof area carefully before installing. Use a tape measure to find exact panel sizes and gaps between them. Mark the spots with a pencil or masking tape. Make sure to align panels straight and leave space for wiring. Accurate marking helps avoid mistakes and makes installation smoother.
Preparing The Rv Roof
Preparing the RV roof is a crucial first step for mounting solar panels securely. A clean and well-prepared surface ensures strong adhesion and prevents leaks. Taking time to prepare the roof adds durability to your solar installation.
Each step in preparation focuses on creating a solid, waterproof base. Proper preparation helps the solar panels withstand weather and travel vibrations.
Cleaning Surface
Start by removing dirt, dust, and debris from the roof. Use a mild cleaner and a soft brush or cloth. Avoid harsh chemicals that can damage the roof material. A clean surface allows adhesives and tapes to stick better.
After cleaning, let the roof dry completely. Moisture can weaken the bond of mounting materials.
Applying Waterproof Tape
Apply waterproof butyl tape or flashing tape on the roof where mounts will go. This tape acts as a sealant to stop water from entering through screw holes. Press the tape firmly to remove air bubbles.
Cover all mounting points well. Proper sealing prevents leaks during rain and washes.
Locating Roof Rafters
Find the roof rafters or support beams beneath the surface. Use a stud finder or tap the roof lightly to detect solid spots. Mounting panels directly to rafters gives a stronger hold.
Mark the rafter locations clearly. Avoid mounting only on thin roof skin to prevent damage and weak attachment.
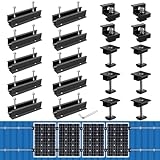
Mounting Hardware Options
Choosing the right mounting hardware is essential for securing solar panels on your RV roof. It affects durability, weight distribution, and ease of installation. Different hardware suits various panel types and roof structures. Understanding your options helps you pick the best fit for your setup.
Z-brackets For Rigid Panels
Z-brackets are popular for mounting rigid solar panels. They offer a strong, simple way to attach panels to the roof. These brackets bolt directly to the panel frame and the roof, providing a firm hold.
Z-brackets raise the panel slightly above the roof surface. This gap allows air to flow under the panel. Airflow helps cool the panels, improving their efficiency. Installation with Z-brackets is straightforward and uses few parts.
Strut Channels For Weight Distribution
Strut channels are metal rails that spread the panel’s weight across a larger area. They prevent pressure points on the roof that might cause damage. This system works well for heavier or larger solar panels.
Using strut channels lets you adjust panel placement easily. The rails attach securely to the roof, and brackets hold the panels on the rails. This setup adds stability and protects the roof from stress.
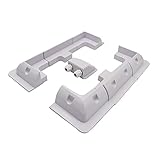
Flexible Panel Adhesion
Flexible solar panels need a different mounting method. Adhesive mounts use strong glue or tape to stick panels directly to the roof. This method avoids drilling holes, preserving the roof’s waterproof seal.
Adhesive mounting suits curved or uneven RV roofs well. It also reduces the panel’s profile, lowering wind resistance. Make sure the roof surface is clean and dry for the best bond.
Credit: www.liftingitalia.com
No-drill Mounting Techniques
No-drill mounting techniques offer an excellent way to install solar panels on an RV roof without damaging the surface. These methods protect the roof from leaks and maintain its integrity. They also allow for easier panel removal or repositioning. No-drill options are ideal for renters or those who want a clean setup.
Using Vhb Tape
VHB tape is a strong double-sided adhesive tape. It bonds solar panels firmly to the RV roof. This tape works well on clean, smooth surfaces. It also resists heat, moisture, and vibration. Applying VHB tape requires a clean roof and proper pressure to stick. Panels mounted with VHB tape stay secure during travel and weather changes.
Benefits Of No-drill Methods
No-drill methods reduce the risk of roof leaks and water damage. They save time and effort compared to drilling. These techniques avoid weakening the roof’s structure. No-drill options also keep the RV’s resale value higher. Many owners choose no-drill mounts for their ease and safety.
Ensuring Strong Adhesion
Clean the roof with alcohol or a suitable cleaner before mounting. Remove all dirt, oil, and debris for better tape bonding. Apply firm pressure for several minutes after placing the tape. Let the adhesive cure for at least 24 hours before driving. Check the bond regularly and replace tape if needed.
Sealing And Waterproofing
Sealing and waterproofing are critical steps in mounting solar panels on an RV roof. Proper sealing protects the roof from water damage and leaks. It ensures the solar setup lasts longer and performs well. Using the right materials and techniques prevents costly repairs. Focus on sealing every hole and edge around the panels.
Choose sealants and tapes made for outdoor and RV use. These products can handle weather changes and UV exposure. Follow the manufacturer’s instructions carefully for the best results.
Applying Dicor Sealant
Dicor sealant is a popular choice for RV solar panel installations. It is thick, durable, and waterproof. Apply Dicor around mounting holes and brackets. Use a caulking gun for even application. Smooth the sealant with a putty knife or finger to cover gaps. Allow it to cure fully before moving or adding weight. Dicor bonds well to RV roof materials like rubber and fiberglass.
Using Eternabond Tape
Eternabond tape is a strong adhesive tape designed for sealing RV roofs. Cut the tape to size and clean the surface first. Press the tape firmly over seams and mounting points. It creates a waterproof barrier that lasts for years. Eternabond is flexible and resists cracking. It works well with Dicor sealant for added protection.
Maintaining Long-term Seals
Regular maintenance keeps seals effective over time. Inspect the roof seals every six months or after heavy storms. Look for cracks, peeling, or gaps in the sealant or tape. Clean the sealed areas gently to remove dirt and debris. Reapply Dicor sealant or add new Eternabond tape if needed. Proper upkeep extends the life of the solar panel installation and protects the RV roof.
Wiring And Electrical Setup
Setting up the wiring and electrical system is vital for your RV solar panel installation. Proper wiring ensures your solar power flows safely and efficiently. This section explains key steps to connect your solar panels to the battery and charge controller. Follow these guidelines to avoid common electrical issues and keep your system reliable.
Running Wires To Charge Controller
Run wires from the solar panels directly to the charge controller. Use wires rated for outdoor use and high current. Keep the wire length as short as possible to reduce power loss. Secure the wires along the roof and walls using clips or conduit. Always seal roof entry points to prevent leaks. Connect positive and negative wires carefully to the correct charge controller terminals.
Series Vs Parallel Wiring
Decide between series and parallel wiring based on your panel setup and voltage needs. Series wiring increases the voltage by linking panels end-to-end. Parallel wiring increases current by connecting all positive and all negative terminals together. Series wiring suits higher voltage charge controllers. Parallel wiring suits lower voltage systems and offers better shading tolerance. Choose wiring style that matches your controller and battery specifications.
Fuse Installation And Battery Connection
Install fuses close to the battery on the positive wire. Fuses protect your system from short circuits and overloads. Select fuses rated slightly above your system’s maximum current. Connect the charge controller output wires to the battery terminals. Use proper cable sizes to handle the current safely. Tighten all battery connections securely to avoid voltage drops and sparks.
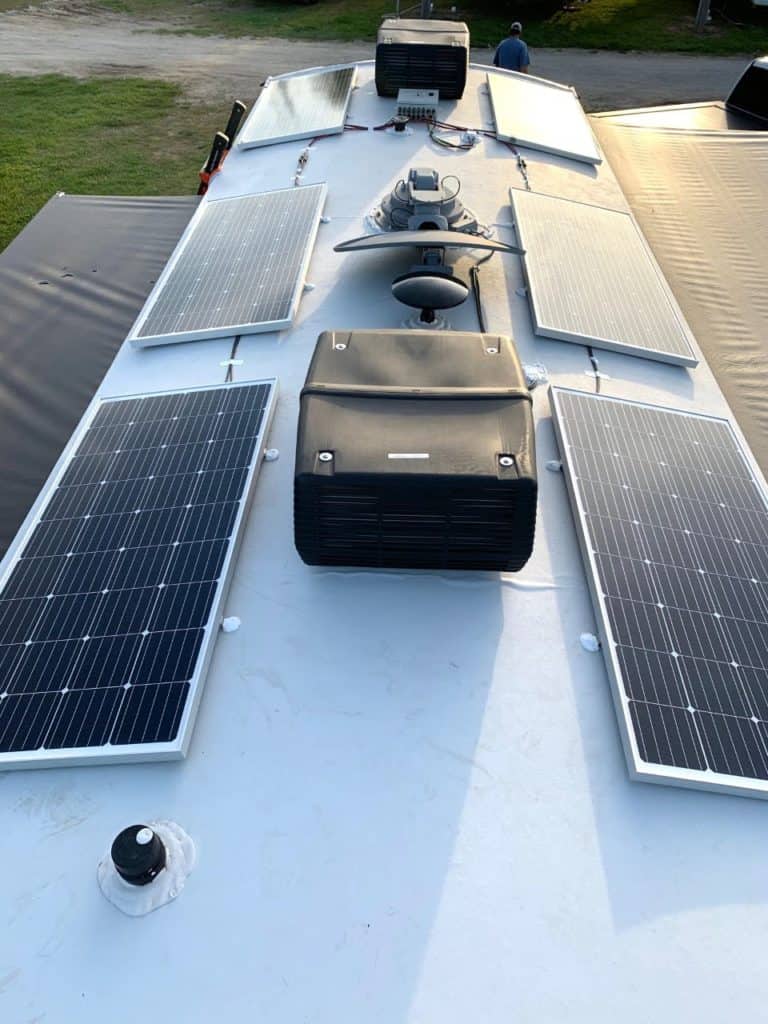
Cooling And Ventilation
Proper cooling and ventilation are important when mounting solar panels on an RV roof. Solar panels work best at lower temperatures. Heat can reduce their power output and shorten their lifespan. Allowing airflow and placing panels carefully helps keep them cool. This section explains how to improve cooling and ventilation for your RV solar setup.
Allowing Airflow Under Panels
Raising solar panels slightly above the roof surface creates space for air to move. This gap lets cool air flow under the panels. Air circulation removes heat and prevents hot spots. Use mounting brackets or rails to lift panels about one to two inches. This simple step helps maintain lower panel temperatures. Avoid sealing panels flat against the roof.
Improving Efficiency
Cooler panels produce more electricity. High heat lowers the voltage and reduces output. Proper ventilation keeps panel temperature closer to ambient air. This boost in efficiency gives you more power for your RV needs. Even a small temperature drop can improve energy yield. Focus on mounting methods that enhance natural cooling.
Panel Placement For Ventilation
Choose roof areas with good natural airflow. Avoid placing panels near roof vents or air conditioners that block wind. Position panels so breezes can flow freely underneath. Align panels along the roof’s slope to help heat rise away. Check for any obstructions that trap heat around the panels. Thoughtful placement supports constant ventilation and cooling.
Maintenance And Accessibility
Maintaining solar panels on an RV roof requires easy access and careful attention. Proper maintenance keeps the system efficient and extends its lifespan. Accessibility helps spot issues early and simplifies repairs. Thoughtful installation ensures panels and wiring stay protected yet reachable. This section covers key points on maintenance and accessibility for solar panel mounts.
Accessing Wiring Easily
Choose mounting systems that allow quick wiring access. Wiring should run through channels or conduits that are easy to open. Avoid sealing wires under permanent mounts or caulking. Use junction boxes with removable covers near panel edges. Clear access reduces repair time and prevents damage during inspections. Well-organized wiring also improves safety by reducing trip hazards and shorts.
Inspecting Seals Regularly
Seals prevent water leaks around mounting holes and edges. Check seals every few months for cracks or wear. Use quality butyl tape or rubber gaskets designed for outdoor use. Reapply sealant or replace gaskets if damage appears. Proper sealing protects your RV roof from water damage. Inspect seals after heavy storms or when traveling on rough roads.
Future Upgrades And Flexibility
Plan mounts that allow adding or repositioning panels later. Modular rail systems or bracket mounts offer flexibility. Avoid permanent drilling in fixed positions only. Leave space around panels for extra units or different sizes. Flexible setups save costs when upgrading battery or inverter systems. Easy upgrade paths keep your solar system efficient and adaptable to new technology.
Common Materials Needed
Installing solar panels on an RV roof requires specific materials for a secure, weatherproof fit. These materials protect your RV roof and keep panels stable during travel. Choosing the right items helps prevent leaks and damage.
This section covers essential materials needed to mount solar panels safely and efficiently.
Types Of Brackets And Fasteners
Z-brackets are popular for their strong hold and easy installation. They attach panels firmly to the roof. L-brackets offer support at right angles, useful for angled panel setups.
Stainless steel screws resist rust and provide long-lasting strength. Self-tapping screws can speed up installation by drilling their own holes. Use washers to protect the roof surface and improve seal.
Sealants And Adhesives
Butyl tape forms a waterproof barrier under brackets and fasteners. It prevents water from seeping through screw holes. Silicone sealant adds extra protection around edges and holes, sealing gaps tightly.
Marine-grade adhesives can secure panels without drilling. They bond well to smooth RV roof surfaces. Choose UV-resistant sealants to withstand sun exposure and harsh weather.
Tools For Installation
A cordless drill with multiple bits is essential for drilling and driving screws. A caulking gun helps apply sealants cleanly and evenly around mounting points.
Measuring tape ensures precise placement of panels and brackets. A utility knife cuts sealant tape and trims excess material. Safety gloves protect hands during handling and installation.
Credit: battlebornbatteries.com
Frequently Asked Questions
What Is The 33% Rule In Solar Panels?
The 33% rule in solar panels means sizing your solar system to cover about 33% of your energy needs. This balances cost and efficiency effectively.
How To Install A Solar Panel On A Rv Roof?
Choose a sunny, obstruction-free spot on the RV roof. Clean the area and apply butyl tape for waterproofing. Attach panels using Z-brackets or strong VHB tape for no-drill mounting. Seal all edges with weatherproof sealant. Connect wiring to an MPPT charge controller and battery safely.
What Is The 120 Rule For Solar Panels?
The 120 rule limits solar panel current to 120% of the inverter or charge controller rating. This prevents system overload and ensures safety.
What Is The Best Adhesive For Solar Panels On A Motorhome?
The best adhesive for solar panels on a motorhome is high-strength VHB (Very High Bond) tape. It offers strong, weather-resistant bonding without drilling. For extra security, use Dicor self-leveling sealant around edges and mounting points to ensure waterproofing and durability.
Conclusion
Choosing the right mounting method keeps your solar panels secure and efficient. Proper placement ensures maximum sunlight and power generation. Use strong sealants to prevent leaks and protect your RV roof. Regular checks help maintain panel stability and performance. Safe installation means longer panel life and fewer repairs.
With the right care, your solar setup will serve you well on every trip. Solar power adds freedom and convenience to your RV adventures. Simple steps lead to great results and more energy independence.